

If there’s one piece of advice that makes me so nervous, it’s when someone recommends that people “don’t worry about, forget, or never look or open up your folders panel” in Lightroom. You don’t need to worry about it. I understand the spirit of where they are going with that recommendation. However, it has the potential to be very dangerous advice, and here’s why.
The folders panel in Lightroom is the foundation of your entire catalog. Think of your folders as the foundation of your house. We need to build a solid foundation with folders first. Then, and only then should we move on to building our house of organizational wonder with keywords, collections, and all the tools that Adobe gives us.
How you organize your Lightroom folders isn’t a one size fits all solution. That’s why I’m going to show you three different options for how you can organize your Lightroom folders. We’ll also touch on an easy and straightforward method to clean up and start organizing your folders.
Tip #1: Create a Parent Folder
Creating a parent folder is simple but critically important. A parent folder is a top-level folder that contains all your subfolders and ultimately holds your entire folder library. By having a parent folder, you’ll only have to click one folder whenever you need to copy your entire photo library to a new external hard drive. When setting up a backup strategy to the cloud, all you need to do is tell that service to back up that parent folder and all the subfolders within it. Again, it’s simple. But, I’ve seen enough people who have some folders here and a few others located over here, so I wanted to put this as the first step.
Tip #2: Implement a Folder Hierarchy Strategy
Set up your subfolders in a hierarchy system with a standard naming convention. If you’re using a one-catalog system, which is what I recommend for all nature and landscape photographers, you probably will end up with a lot of folders. That is potentially a lot of scrolling. This is one of the main advantages of using a hierarchy system. Have the parent folder on top and child folders or subfolders in appropriate groups.
Lightroom Best Practice: Only Move Files & Folders Within Lightroom
To ensure we’re all on the same foundation, we need to tackle a best practice on working with folders in Lightroom. Lightroom isn’t holding or storing your photos. Your photo files are saved on your hard drive. Lightroom simply knows that direct path to find your photos and then reads the file. Consider Lightroom a lifeguard watching all your folders and photo files swimming around on your pool of a hard drive.
Now, assuming that file or folder has already been imported into Lightroom, if you go and change the name of a file or a folder or rearranged those directly on your hard drives, you have just caused a major distraction (maybe sunblock in the eyes). The Lightroom lifeguard lost track of your photo. Lightroom can’t find the renamed folders and files because the absolute path/address has changed. Lightroom panics because it can’t find the photos. However, instead of jumping in to find and save your photos, Lightroom goes on break. It greys out the folder and puts a question mark next to it. It’s easy to fix. However, the moral of the story is that once your folders and files are within Lightroom, it is best practice to only move and rename folders and files from within Lightroom.
Tip #3: Option/Alt to Expand and Collapse All Folders
By holding down the Option/Alt key when you click to expand or collapse all of your folders, Lightroom will simultaneously expand and collapse all of the subfolders for a quick and easy way to search or tidy your folders.
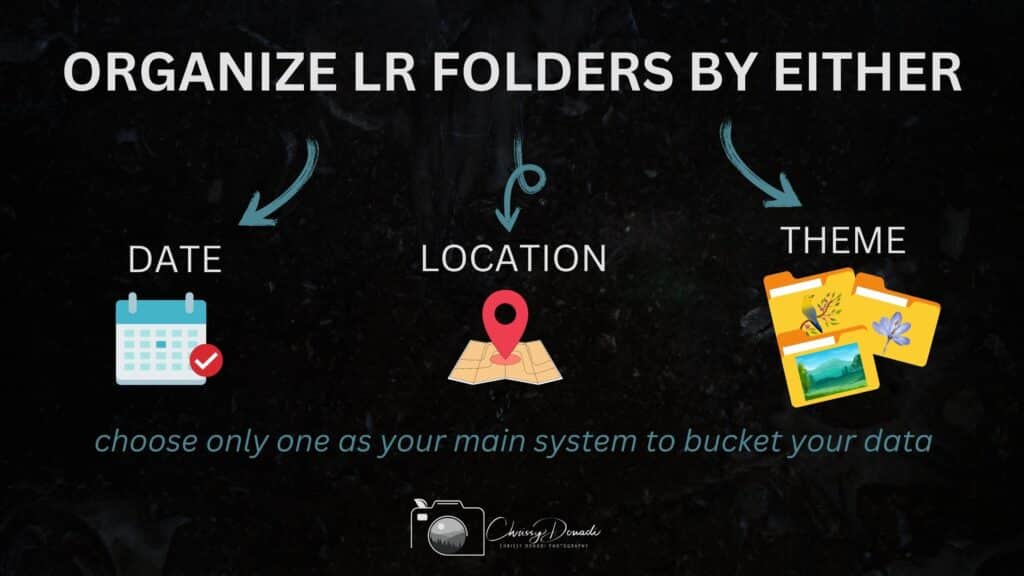
Tip #4: Decide to Organize Lightroom Folders by either Date, Location, or Theme
Let’s start with there are no wrong answers. However, your strategy for this will either make life easy or introduce unnecessary frustration. That’s why it is so critical to take just a few minutes. Think about what will work best for you and what is intuitive to you. As we walk through this, you’re going to see that I have adapted my system to incorporate all three options of date, location, and theme.
Option 1: Organize Lightroom Folders By Date
This is typically what I see with the majority of Lightroom users. Lightroom organizes your folders alpha-numerically so using a date format properly can keep them in chronological order for you. Typically, we do care more about our more recent images, and there are natural breaks in my photography journey. If you’re a beginner, 10-15 years from now, your skills will grow a lot. So much that those older photos will not be as critical and you won’t be working with them as much. It makes sense that eventually, we’ll archive older photos so organizing your Lightroom folders by date makes this an easy task. Last, when thinking about backing up your images, going by date makes it easy to see and check that all your latest images are backed up.
The key is that you shouldn’t just use the date alone. We have to name these folders anyway so we should give them some meaning. The reason is that this structure will be outside of Lightroom on your hard drive and all your backups. It takes 2 seconds once you figure out your strategy. Now what type of information do we add? Maybe location or themes?
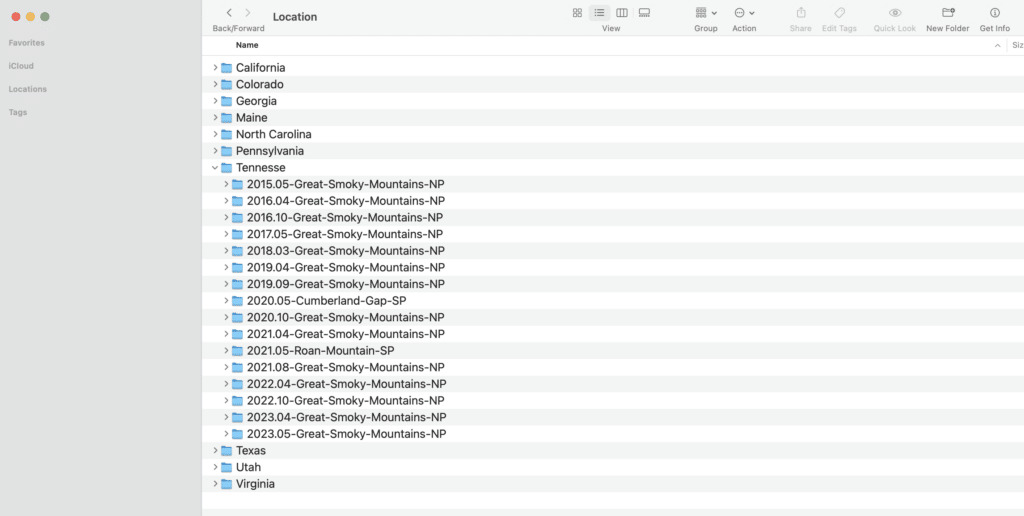
Option #2: Organize Lightroom Folders By Location
Organizing your Lightroom folders by location is a good option, especially if you go back to locations often or this is how you intuitively think. Rather than have your dates as upper-level folders, you may set up your hierarchy by locations to make life easy and then use the date format (yyyy.mm) with your subfolders. Remember, if something goes wonky with your backups, this makes it easier to know what photos have or have not been backed up, corrupted, or potentially lost.
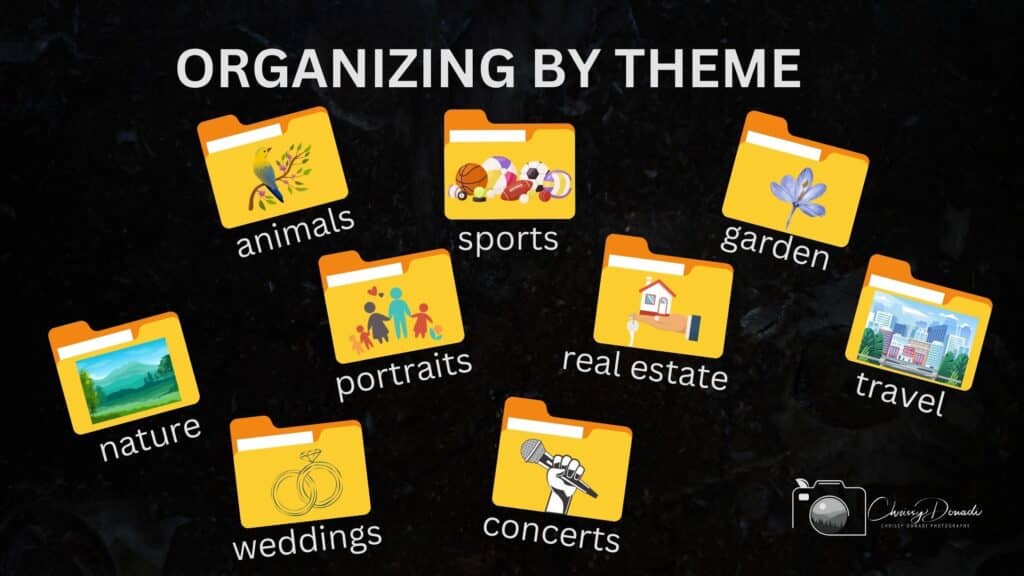
Option #3: Organize Lightroom Folders By Theme
I think organizing by theme is more difficult if you are beginning your photography journey. To evolve as a photographer, we should photograph many genres. That’s how we will find our true passions and evolve. After over 15 years of experimentation, I have started to incorporate themes into my folder structure. Again I do so with uniformity because consistency is the key to staying organized.
Some of the large bins for my photography are:
- garden (macro, flowers, small scenes)
- nature (grand landscapes, intimate scenes)
- animal (wildlife, birds, pets)
- travel (cityscape adventures)
- sports
- portraits (family and holiday photos)
- education (behind-the-scenes, teaching examples, etc.)
- client (anything specifically photographed for assignments)
Tip #5: Strategize Naming Conventions
To the best of your ability, use standardized naming conventions. For example, I like to always have “NP” if the photos are from a national park or “SP” for state parks.” I like to use standard state abbreviations and the names of locations.
I still use keywords, stars, flags, color labels, and collections heavily. You best believe that no organizational tool that Adobe gives me feels lonely (okay, maybe flags feel a little lonely at times). Anyway, that’s a different video, but Lightroom folders are a great way to down-select groupings.
Tip #6: Use the Folder Filter Bar
There’s this great filter bar at the top of the folder panel. If you are consistent with your naming conventions it makes it easy to filter and find different ways to group your folders to discover and implement new keywords and collection sets.
Tip #7: Quick and Easy Way to Clean Up Folders in Lightroom
My first step is to create a folder within Lightroom that houses all the photos I wish to organize. From the library module, press the “/” key to open the filter bar that will appear across the top of your grid view of photos. Select metadata and from there, you can sort by various columns through your metadata. The easiest method I find is to first group your photos into buckets by years and then months. This will probably naturally give you a starting point to find your photography trips or outings and create subfolders that are reasonable. Little by little, you’ll get a handle on things.
Last, there is no need to go back and do this for all of your photographs. Do what makes sense and is reasonable. That very well might be simply starting fresh with a new method to organize your photos going forward.
I still have a few more fun tips and tricks on working with folders, but I think it’s important to digest all this advice because that was a lot. Plus, it’s important to take some time to contemplate what folder structure will work best for you. If you can’t wait, you can learn about my entire system and workflow in my Let’s Get Organized in Lightroom course. That covers folders more in-depth and everything you need to know about setting up and organizing your photos in Lightroom in 4 hours.
Now, I’m sure many of already knew some of this advice, but I hope you picked up something new to try in your workflow.
+ show Comments
- Hide Comments
add a comment