

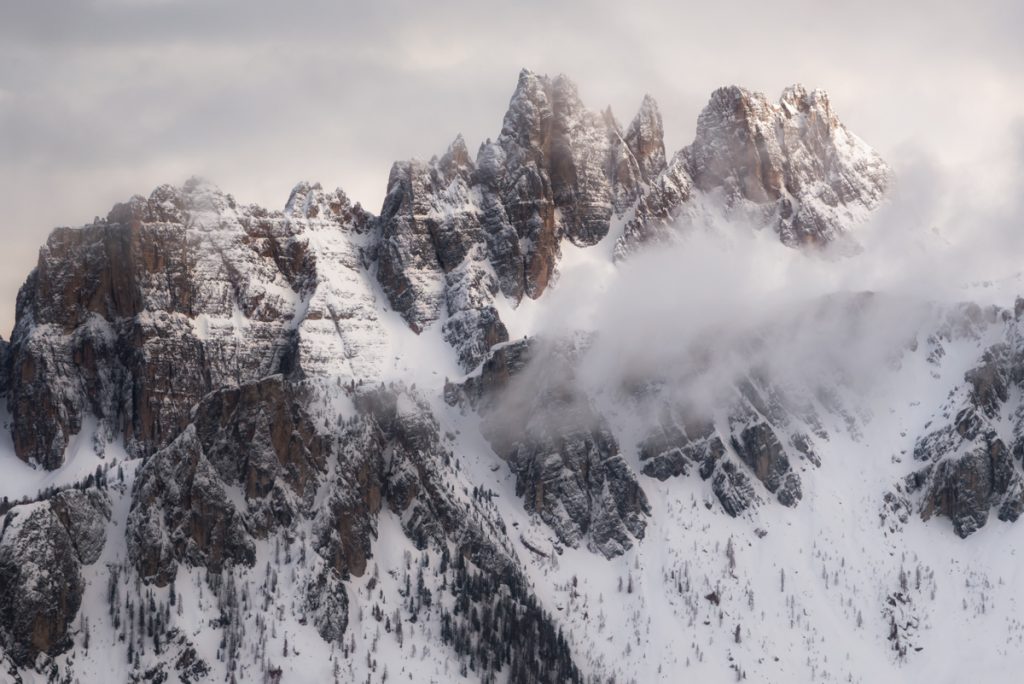
Winter is one of my favorite seasons for landscape photography, but I didn’t always feel that way. My first trip to Iceland was not comfortable. It was a constant feeling of dampness paired with a chill in my bones. It was entirely because my gear wasn’t up to snuff. The first key to successful winter landscape photography is having the necessary gear and apparel for yourself. If you are warm and comfortable out in cold temperatures, then photography is going to be your main focus. You will happily wait around for the right moment when everything aligns.
“Det finnes ikke dårlig vær, bare dårlig klær!”
-Scandinavian Mantra
“There is no bad weather, only bad clothes!”
After that Iceland trip, I shopped around during the end-of-year sale season, bit the bullet, and invested in a proper insulated jacket and shell. It was a game-changer for my photography. With the right layers and jackets, now I am always comfortable whether I’m battling gale-force winds in Patagonia, looking for the aurora in the Arctic Circle’s frigid temperatures, or listening to rain thump off the bridge providing me cover in Iceland. This is my winter photography packing list to keep me and my gear warm and cozy during cold weather shoots so my focus can be on winter photography.
How to Find The Best Outdoor Clothing
While I’ll give you my packing list below, you may need to look for clothing to fit your body type and preferences. Anytime I’m looking at upgrading or purchasing need outdoor gear, my first stop is to check out Outdoor Gear Lab. The employees thoroughly test and rate all the top outdoor apparel and equipment.
My Essential Clothing Layers for Winter Photography
Base Layer: This should be fairly tight fitting. My preference is wool because it is amazingly warm and dries quickly. Often, there are hybrid layers, such as merino wool mixed with polyester. Additionally, base layers typically come in light, mid, and heavy. Depending on if you run warm or cold and your destination, take your pick. I tend to lean towards a midweight base layer and then adjust my other layers as needed.
Mid-Layer: A good mid-layer of fleece or down is the next layer to consider. My favorite fleece is Patagonia’s Better Sweater. Other brands, such as North Face, Eddie Bauer, REI, and L.L. Bean make similar products that are also quite good. I will wear this under my insulated jacket if conditions call for it. Otherwise, it is excellent as a jacket for a fall day or to wear in the hotel or at dinner.

Insulated Jacket: My insulated jacket is one of the items I view as an investment. An insulated jacket needs to keep you warm but remains breathable so you do not overheat while hiking in the winter. Even if hiking is at a minimum in winter, the last thing you want to do is sweat in winter conditions. Research the type of down, breathability, warmth-to-weight ratio, wind resistance, and fabric weather treatment. Find what works best for you. Use tools like Arcteryx’s Jacket Finder. You may not purchase that particular brand, but it will help you narrow down the attributes you need in a jacket. My favorite jackets have been North Face’s Thermoball Jacket for mild conditions and Arc’teryx Cerium LT Hoody for cold conditions.
Shell Jacket: This is the other piece of clothing that I consider an investment. The reason is that I can stand in a storm with my shell jacket and still be warm and dry underneath. In other seasons, this serves as the outer layer to protect me from rain. In your research, pay attention to the technical specifications of your clothing. Wind-resistant is not the same as wind-proof. Water-resistant is not the same thing as water-repellent which is not the same as waterproof. It may cost a little more, but ensuring that your clothing insulates, protects, and/or breaths as needed is critical. This is your most weather-protective layer and needs to be a waterproof shell. I was sick to my stomach when I spent the money on my Arc’teryx Beta AR Jacket, but I never complain when I’m out in the elements anymore.
Fleece-Lined Pants: A good pair of fleece-lined hiking pants are one of my favorite inventions. The other option is to wear base layer pants and then wear hiking and/or waterproof pants or snow pants on top. For pants, I look for comfort, flexibility, and if they are waterproof or water-resistant, and breathability. In winter, I’m not hiking long distances normally so I prioritize warmth because there is a lot of standing still.
Wool socks with insulated hiking or snow boots: Often you will be standing in the snow, and even if you make yourself a little clearing, you’re still in the snow. This is why wool socks and a pair of insulated and fully waterproof boots are essential. Warm and dry feet will take you anywhere you need to go to grab the shot.
Neck gaiter, balaclava, buff, or scarf: That cold wind blowing against your face inflicts some damage on your cheeks and nose. I always have a buff with me and have used it a hundred different ways in my adventures. During winter photography season, I am often shooting with a neck gaiter sporting what I like to call the ninja look where only my eyes are showing. I may look ridiculous, but that’s way better than windburn and rosy-red, chapped cheeks.
Gloves & Hat: A winter hat and a couple of pairs of gloves are always with me. I always pack my favorite hat and gloves along with backup pair in case something gets lost or wet. I like to have a pair of glove liners for dexterity. This is so I can efficiently operate the controls on my camera without bare fingers being out in the elements. Then, I keep a heavier pair of waterproof gloves or mittens that fold back to wear once I have set up my gear. For this setup, I have a pair of Smartwool or NorthFace liners and then I wear my Vallerret WS Nordic Photography Gloves. I use these gloves because I have them, but I wouldn’t say that I would spend the money on them again.
Last year, I found these two-in-one combination photography gloves from Freehands where the pointer finger and thumb have a magnetic flap that pulls back for better dexterity. However, unlike the Vallerret gloves, it still has a liner so your bare skin is never exposed to the elements. It’s an all-in-one combination and has quickly become my go-to gloves for average winter outings.
Alternatively, I’ve heard so many photographers say how much they enjoy gloves from The Heat Company because it is a layering system with a liner, shell, and hood. The company offers a decent amount of options to tailor your gloves to exactly what you need. When I’m due for a new set of gloves or a trip where I’ll be in out in extreme temperatures, this is what I’ll be adding to my closet.
Packing Extras to Keep You Comfortable in Winter
Chapstick & Lotion: This is at the top of the list for a reason. The weather conditions will annihilate your lips, face, and hands during winter photography. I carry Blistex in my pack, my coat, and the car. As for lotion, my hands practically drink it whenever it is applied. Please for all that is holy, spend the two dollars and keep a chapstick and a travel-sized lotion with you.
Heat Packs: I do my best to use the reusable heat packs but they only hold their heat for maybe 1-2 hours. Even if I keep them in a thermos, it isn’t always practical. For that reason, I also use disposable heat packs for my hands and even sometimes in my boots. I’ll even use day-old packs that are still giving off small amounts of heat inside my pack in an attempt to keep it from getting too cold.
Sunglasses: People normally forget sunglasses until they are driving while squinting in the middle of the day with a blue sky and lots of reflective snow all over the place. This is why I literally always have a pair of sunglasses with me no matter the season.
Microspikes/Crampons: A crampon is attached to your hiking shoe or snow boot for traction to improve your mobility on snow and ice. It is especially helpful on sloped surfaces and when crossing glaciers, snowfields, and/or ice fields. Microspikes are smaller and more for flat surfaces where you are walking on ice or hard/packed snow. I use my microspikes all the time, even when walking the dog on snow-packed trails in Pennsylvania.
Thermos: Whether it is filled with coffee, tea, hot chocolate, or gluhwein, having a hot drink to sip while out shooting for a few hours is a delightful treat and a great way to keep any chills far away.

Safety and Emergency Supplies for Winter Photography
Winter weather poses risks for being out and about so consider the necessary emergency preparedness materials. No matter the season, having an emergency kit is non-negotiable. Items such as a first aid kit, road flares, and a reflective vest should be in the car. Also, I always have my Garmin InReach, which is an emergency satellite communicator, with me. And just in case, here are my thoughts about simply relying on your phone’s SOS feature instead of a device made for emergency preparedness.
Those who have traveled with me know I always have my “MacPoppins pouch.” It’s a pouch of randomness that has saved my bacon and my friends’ bacon many times over. This pack includes an extra headlamp, sunscreen, a first aid kit, insect repellent, pocket knife or multitool, waterproof matches and/or lighter, hand sanitizer, a mini roll of duct tape, safety pins, small microfleece towel, Advil, Benadryl, carabiner, chapstick, lotion, tissues. All things are mini sizes and contained in a small zippered pouch.
For winter specifically, I strongly prefer the vehicle to be 4-wheel or all-wheel drive and have winter tires (along with chains if required by law). In addition, I make sure that the car has snow/ice removal tools. I keep both an ice scraper as well as a mini shovel should I need them. I like to keep bottled water, snacks, blankets, and a flashlight/headlamp as well. Even if on travel, I’ll grab a hotel blanket and put it in the rental car. Last but certainly not least, I like to keep the gas tank always above halfway. This may seem like overkill to some. However, if you get stuck on the side of the road or must wait for a plow, it will be well worth the extra 5 minutes it took to load the supplies.
That’s it! Now, hopefully, you can close your suitcase and enjoy all that Old Man Winter will deliver this season! We’ll tackle camera gear and camera accessories for winter in the next article.
Happy Photographing!
+ show Comments
- Hide Comments
add a comment