

Whether you’re a beginner or a working professional, no one finds it fun to edit photos when Lightroom or Photoshop are operating at a turtle’s pace. No offense to turtles, but slow and steady does not win this race. However, there are lots of options that will speed up Lightroom Classic. The more you implement, the faster Lightroom will run. In this comprehensive guide on how to speed up Lightroom Classic, I’ll share proven tips and best practices sourced from industry experts, including Adobe itself, to help you optimize Lightroom’s performance and enhance your editing sessions.

Since there is so much to cover, I’ve divided this comprehensive guide on how to speed up Lightroom Classic into 5 parts:
- Part 1: Setting Your Lightroom Classic Preferences for Speed (below)
- Part 2: Optimize Your Hardware for a Fast Lightroom Experience
- Part 3: The Smart Way to Manage Lightroom Previews (*to be published)
- Part 4: The Proper Way to Edit Photos in Lightroom’s Develop Module for Speed (*to be published)
- Part 5: Bonus Tips to Speed Up Lightroom (*to be published)
Let’s kick things off with Part 1!
Part 1: Setting Your Lightroom Classic Preferences to Speed Up Lightroom

The first step to achieving a seamless experience in Lightroom Classic is to optimize your preferences. These options can directly influence how Lightroom performs, particularly when dealing with large catalogs and high-resolution images. Accessing these settings is straightforward, but understanding their implications is crucial for performance.
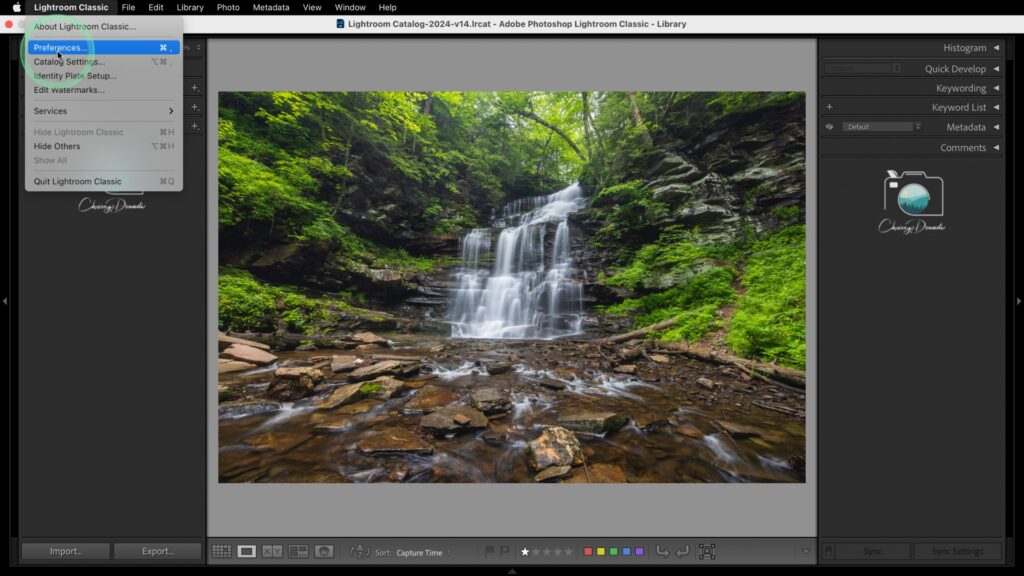
To get started, open Lightroom Classic and navigate to Preferences. On a macOS, go to Lightroom Classic > Preferences > Performance. On a Windows computer, click on Edit > Preferences > Performance. Now, let’s look at the important Lightroom Preference Settings to Review:
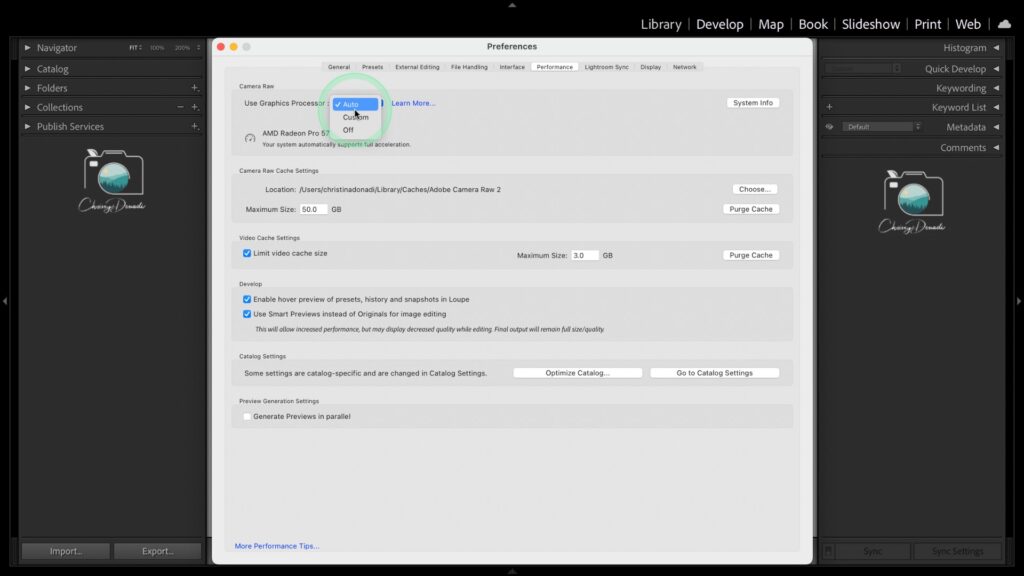
How to Set the “Use Graphics Processor”
Enabling Graphics Processing Unit (GPU) acceleration in Lightroom Classic can offer significant performance enhancements, especially for high-resolution displays and intensive Develop module tasks. However, it’s essential to ensure your GPU is compatible and that your system meets the recommended specifications. Older or less powerful GPUs may not provide a significant performance boost and can even cause some instability issues. You can choose between Off, Auto, and Custom as your options under Use Graphics Processor.
My recommendation for the majority of users is to keep this setting on Auto and let Lightroom determine what your GPU is capable of and then decide what to accelerate, thus leveraging the most out of your GPU and performance in Lightroom.
Increase Your Camera Raw Cache to Speed Up Lightroom
Adobe sets this default low to accommodate the minimum requirements to run the software on a computer system, so it is often much too low. Increasing the size of this cache is one of the top ways to speed up your Lightroom Classic experience. Provided your computer can handle it, I recommend increasing your Camera Raw cache size to between 30 and 50GB. A larger cache allows Lightroom to store more image data for quick access, which speeds up preview generation and image processing. If your cache is set low, try increasing it by 5-10GB at a time. If all goes well, increase it again until you reach a higher cache size such as 30-50GB.
Optimize Your Catalog Regularly
Regularly optimizing your catalog is essential for maintaining performance. You can do this by going to File > Optimize Catalog. This process tidies up the catalog file and can lead to faster loading times and responsiveness. Additionally, it helps keep your catalog from becoming corrupt over time. My preference is to always do this upon exiting Lightroom when I back up my catalog.
On macOS, go to Lightroom Classic > Preferences, and on Windows, click on Edit > Preferences. Once there, switch to the General tab and locate the Default Catalog section. Click on Show to open the folder containing your catalog. Next, go to Catalog Settings by selecting Lightroom Classic > Catalog Settings on macOS or Edit > Catalog Settings on Windows.
In the General tab, find the Backup section and select Every time Lightroom exits from the drop-down menu. This setting ensures that Lightroom prompts you to back up your catalog each time you close the application. Additionally, to optimize the catalog, check the box labeled Test integrity before backing up and Optimize catalog after backing up. This will help maintain your catalog’s performance and integrity by regularly optimizing it during the backup process.
Review Parallel Preview Generation
While it might seem beneficial to have Lightroom generate previews in parallel, this feature can actually slow down performance when dealing with larger files. When you enable parallel preview generation, Lightroom attempts to create multiple previews simultaneously. This can be beneficial on systems with powerful multi-core processors and ample Random Access Memory (RAM). However, it can cause performance issues on systems that don’t have enough resources to handle the concurrent processing.
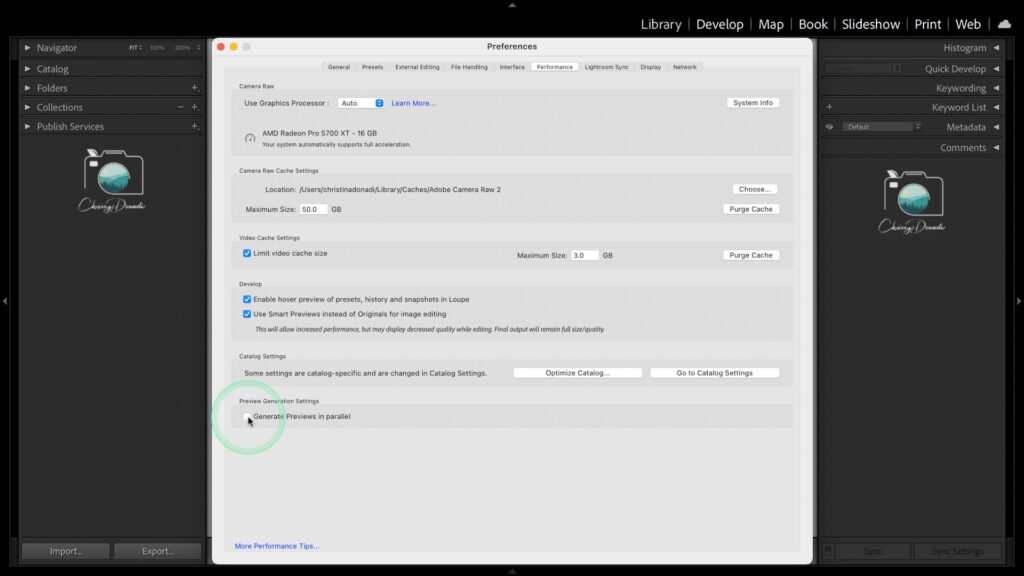
For users with high-end machines, parallel preview generation can improve performance by taking full advantage of their hardware capabilities, leading to faster import and preview generation times.
However, on less powerful systems, the simultaneous processing tasks can overwhelm the Central Processing Unit (CPU) and memory. This can lead to slower overall performance and increased risk of crashes or freezes.
Disabling this feature can help balance the load on your system, allowing Lightroom to generate previews sequentially rather than concurrently. This reduces the strain on the processor and memory, potentially leading to a smoother and more stable performance during the import and preview generation process.
Review Autowrite XMP
First, what the heck is XMP? An XMP file in Lightroom is a small file that stores adjustments and edits you’ve made to a photo. Think of it as a note that keeps track of how you’ve changed your image – all your edits. This file is linked to your original photo but is separate from it, so if you move or rename the original image, the XMP file can still keep your edits safe.
Turning off the autowrite XMP option can indeed speed up Lightroom Classic, especially during editing sessions. This feature, when enabled, automatically saves metadata changes (like edits, ratings, and keywords) to the XMP sidecar files associated with each image. This ensures that your metadata backs up and other applications like Adobe Bridge or Camera Raw can access it, though it introduces performance trade-offs.
When you enable autowrite XMP, Lightroom continuously updates the XMP files every time you make a change. This constant writing to disk can slow down the performance, especially if you are working on a large batch of photos or making frequent adjustments. It adds an additional layer of processing that can interfere with the smooth operation of Lightroom, particularly on systems with slower hard drives or less memory.
Disabling this feature can lead to a noticeable improvement in performance. This is because Lightroom only needs to update the catalog file (which is optimized for quick read/write operations) rather than constantly writing to multiple XMP files. This can make the editing experience more fluid and responsive, allowing you to focus on your workflow without the lag associated with frequent disk writes.
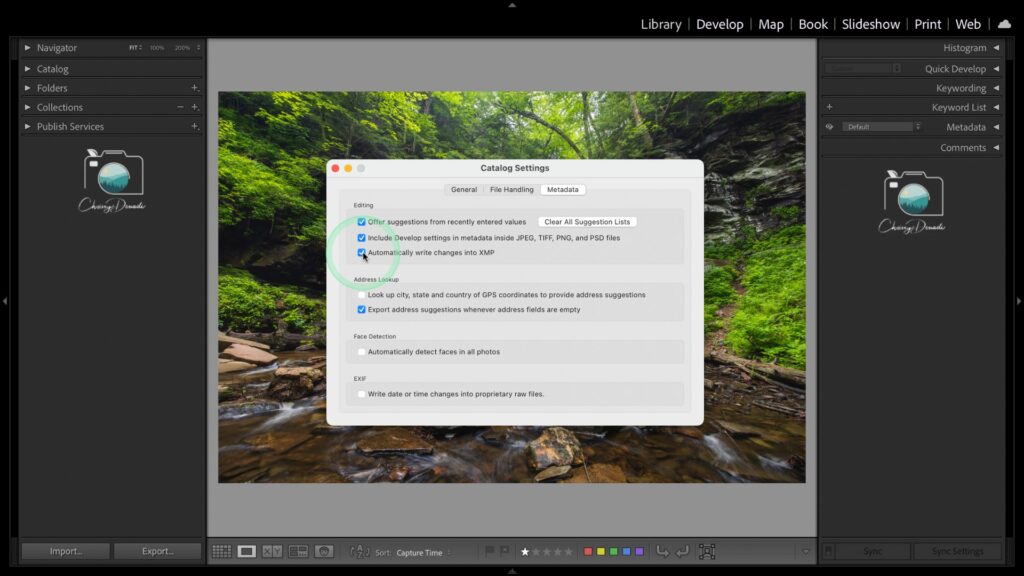
To change your Autowrite XMP settings, you’ll need to navigate to your Catalog Settings. On macOS, go to Lightroom Classic > Catalog Settings > Metadata. On Windows, click Edit > Catalog Settings > Metadata.
In summary, turning off autowrite XMP can speed up Lightroom Classic by reducing the frequency of disk writes, making it advantageous for users who prioritize editing performance. However, for those who need seamless integration with other applications and prefer having their metadata updates continuously saved, keeping this feature enabled might be the better choice. It’s a matter of balancing performance with the need for metadata portability and backup.
Restart Lightroom After Changes
After making these adjustments, don’t forget to restart Lightroom Classic. This ensures that all your changes take effect and that you’re working with the best performance possible.
Next: See Part 2 on How to Optimize Your Hardware for a Fast Lightroom Experience
By optimizing your Lightroom Classic preferences, you’ve taken the first crucial step toward a faster, more efficient workflow. But performance enhancement doesn’t stop here. Next, we dive into how you can further speed up Lightroom by optimizing your hardware and operating system in Part 2.
Chrissy, thank you for your timely and important LR and computer support blogs. I’ve learned a lot just from this blog and look forward to learning more!
Hey Madeleine – thanks for taking a moment to let me know that they are helpful! Helps me know to keep publishing more. Sending my best!