

While many are excited about the bombardment of pumpkin-flavored everything exploding in the United States, I’m getting goosebumps over the cascades of yellow, orange, and red that will soon shower the mountainsides. Fall photography is coming! Not only does the autumn photography season offer a little more snooze time with later sunrises and earlier sunsets, but it also offers the excitement of discovering spots bursting with color. The color and leaves change rapidly so you need to be on point. What’s there today may be gone tomorrow. Each year, as the temperatures cool, I remind myself of these 6 essential fall photography tips.
Timing is Almost Everything
It’s true. Everyone wants to be out when fall foliage is at its peak, but predicting peak colors isn’t easy. Fall foliage reports may be helpful. However, often they are not extremely accurate at the time of trip planning. The leaves changing color is primarily driven by the nights getting longer and the days getting shorter as we enter the fall season. The longer and cooler nights result is biochemical processes changing the leaves from green to those beautiful yellows and oranges.
Different tree species change colors at different times. In Pennsylvania, for instance, Blackgum and Dogwood trees show fiery reds from late August through September. Maples turn red and orange in late September to early October, while Oaks only display their colors in October, often after other trees have shed their leaves.
The variety of deciduous trees in the northeastern United States is why the area enjoys a longer, more colorful fall than many other regions worldwide. By learning to identify these species and their color patterns, you can better plan your fall foliage photography and capture the full spectrum of autumn’s palette.
If you are lucky enough to be in an area experiencing the fall color changes right now, apply this knowledge to enhance your autumn adventures. Research the dominant tree species in your area and their typical color-changing patterns. Create a personal “fall foliage calendar” noting when different species tend to turn. Use this to plan a series of outings and photograph the entire season’s progression. Start with early-turning species and gradually shift to late-changers. This approach will not only result in a diverse portfolio but also deepen your connection to the natural cycles in your local environment, enhancing your overall photography experience.
But Creativity Trumps Timing in Fall Photography
Timing, however, is only part of the equation and the peak of color is only a very small window. Plus, different tree species show their colors at different times. For example, Oaks display their yellow and reds after the Maple leaves begin to fall. There is no reason to wait for the perfect peak day. From late September through the middle of October, there should be color. Check the fall foliage maps and go find the color. If only certain trees are showing color, then be creative to highlight the color in your fall photography.
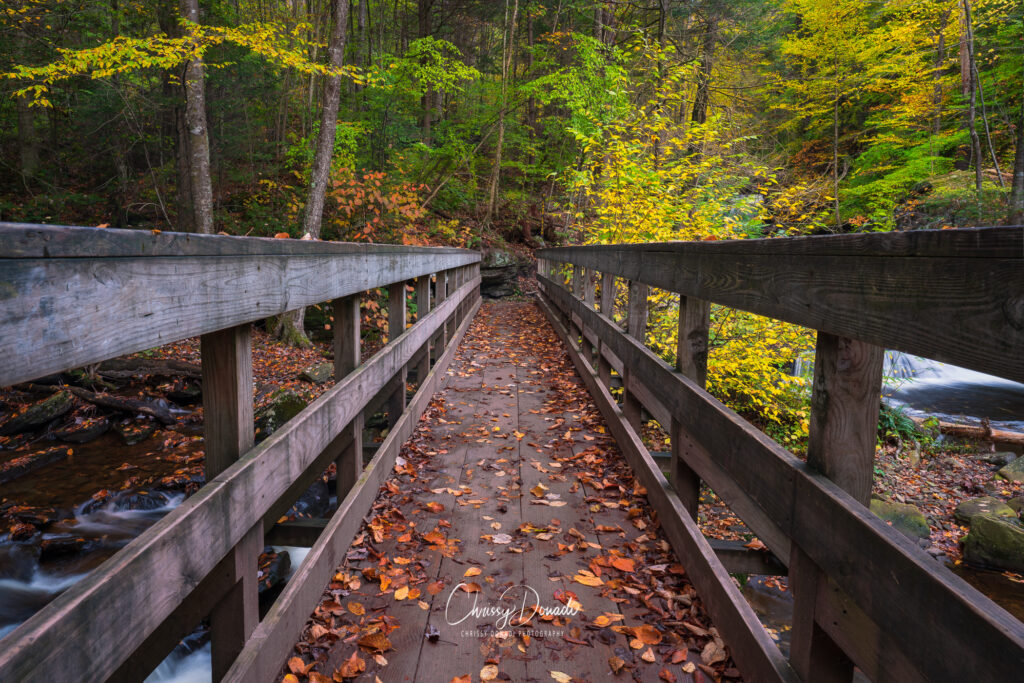
When composing your fall foliage shots, look for contrasts in color and texture. A lone red maple against a backdrop of yellow aspens can create a striking image. Also, don’t forget to look down – fallen leaves can create beautiful patterns on the forest floor.
Try these creative approaches:
- Try a telephoto lens to isolate the leaves on branches, in water, or even on the ground.
- Use the color as a way to draw the eye to the subject of the composition.
- Look for a composition with complementary color pairings, such as red leaf on the green grass or yellow leaves with a blue sky.
- Revisit locations to see how colors have changed. You may even find a fresh perspective for a better composition.
- Try intentional camera movement (ICM) or multiple exposures (ME) to give some creative blur. Plus, it’s simply fun to play with these techniques!
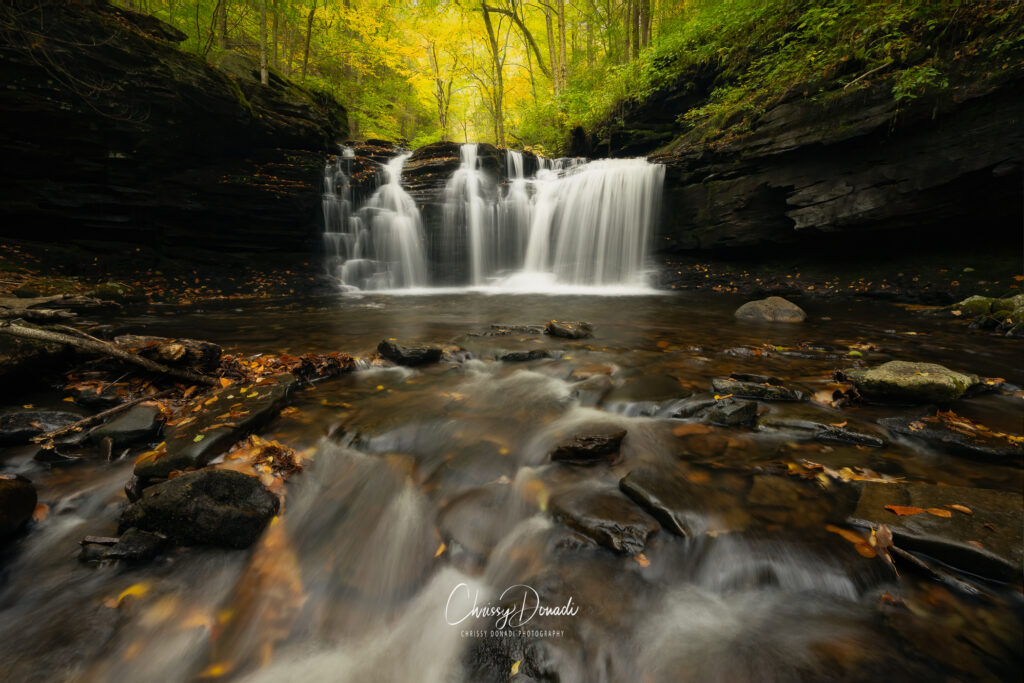
Last, in order to help balance the highlights and the shadows, try to photograph in softer light on overcast days. If Mother Nature decides not to give you a cloud in the sky, then explore during the day and revisit the compositions you find under the softer and more even early morning and/or evening light.
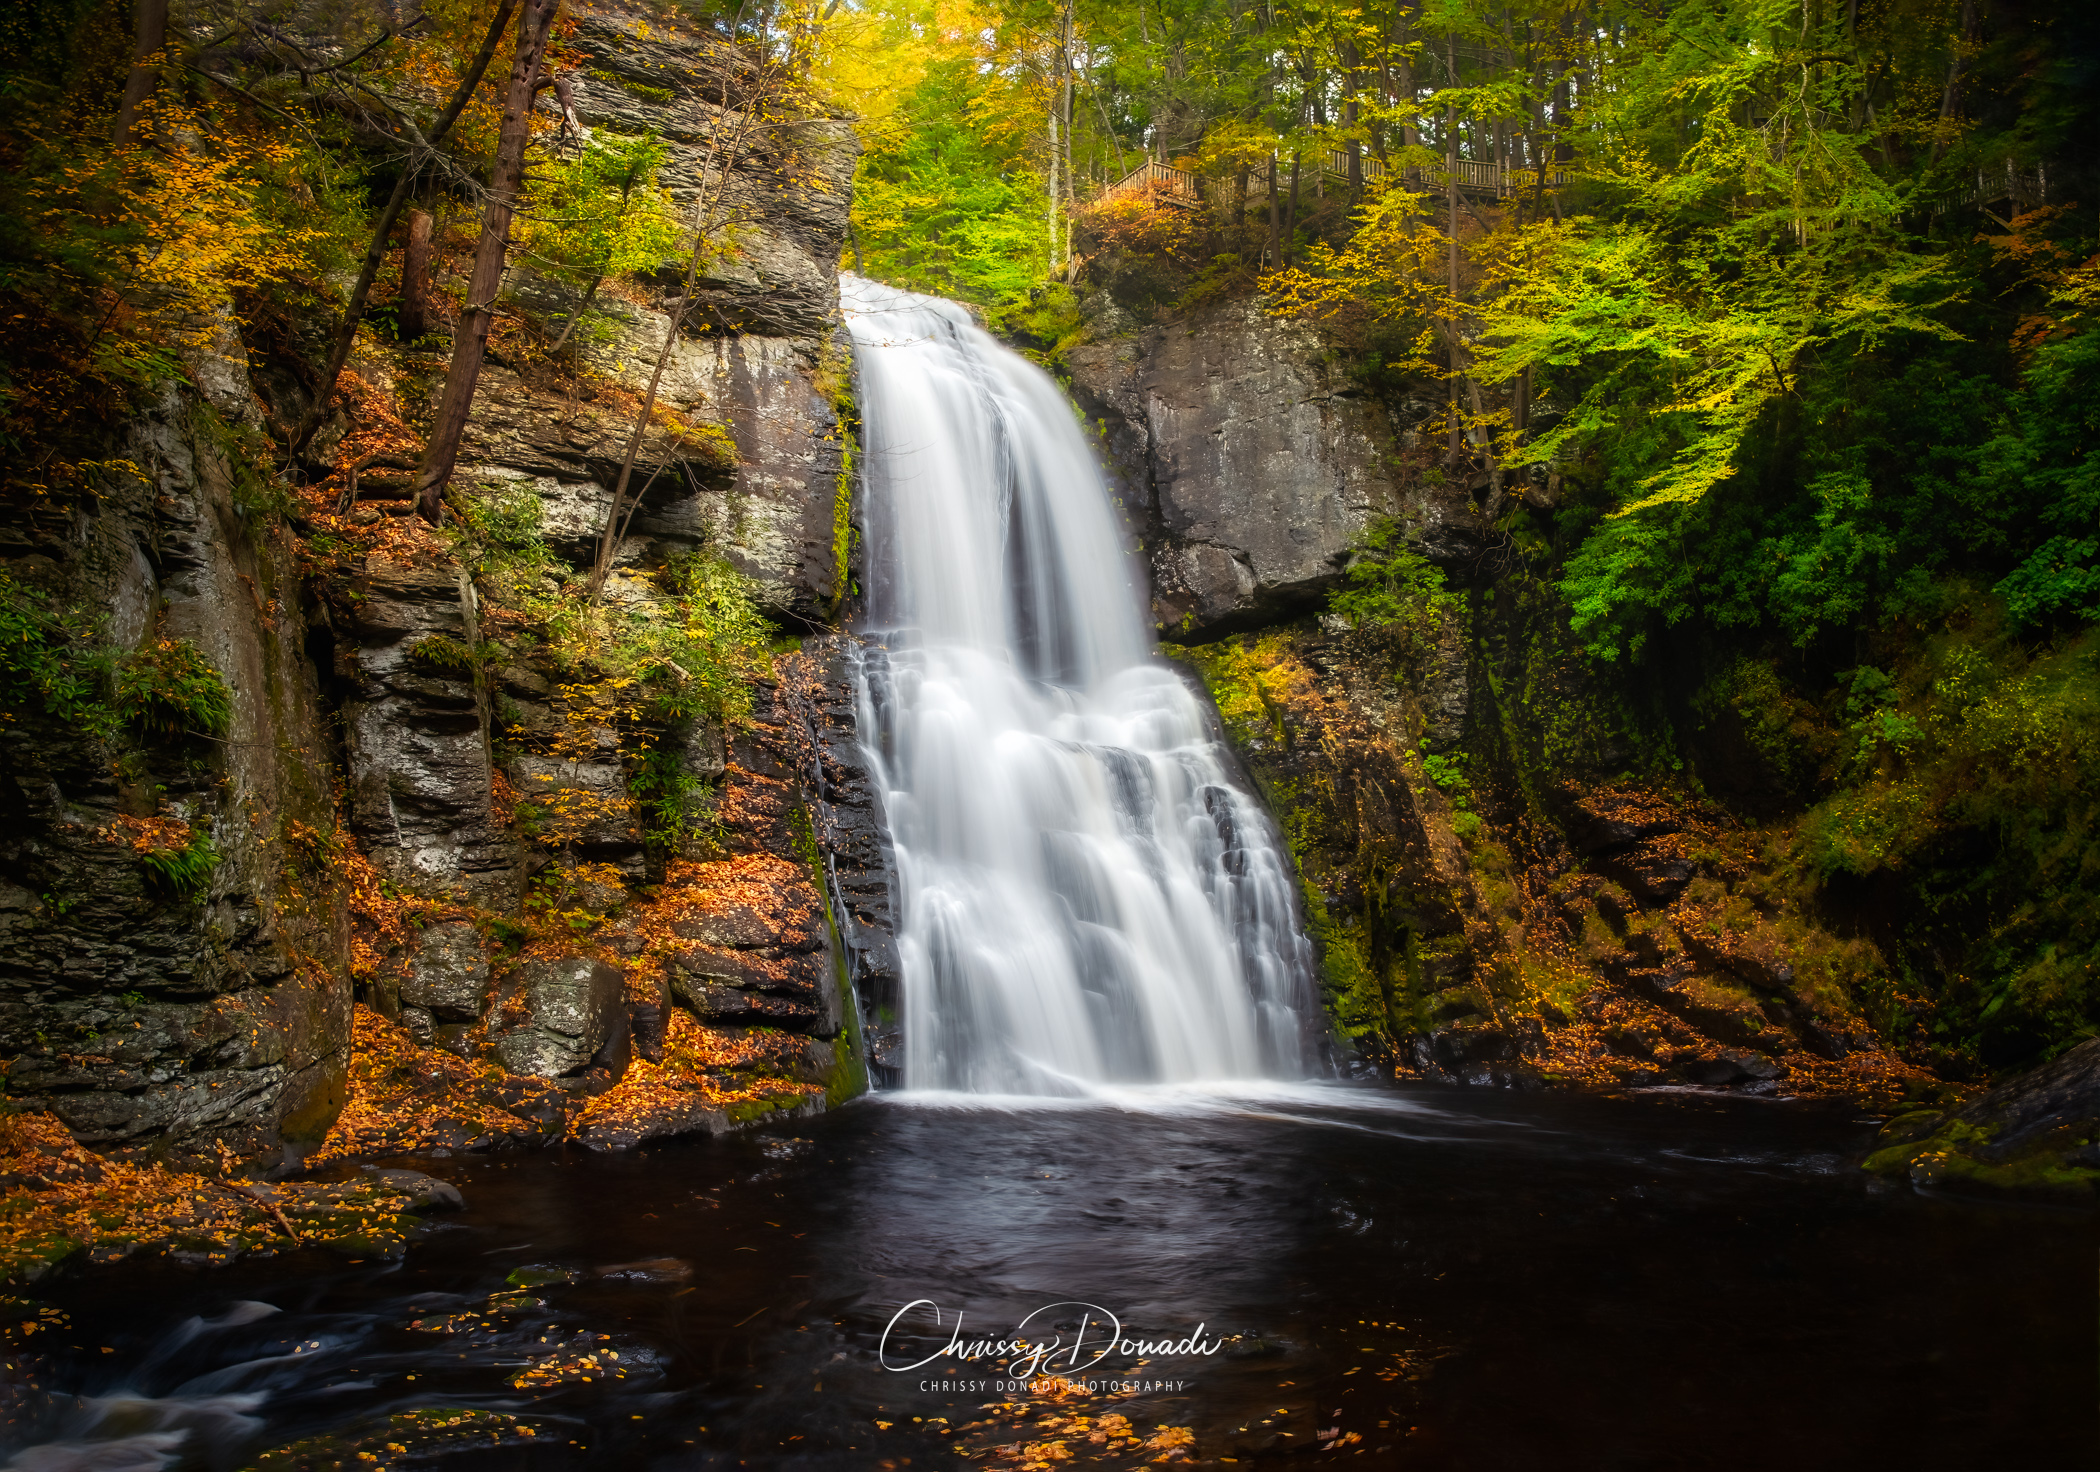
Polarize & Protect
First, you should have a camera body, a lens, and a tripod. Those are the basics to get started with landscape and nature photography. Second, with focus being the leaves of autumn and their color, a circular polarizer/linear (CPL) filter is an essential piece of gear!
A circular polarizer is a photography filter that will remove reflection from any shiny or wet parts of the leaves. Additionally, a CPL will add a bit of saturation to the color of the leaves. It can even help reduce haze in the atmosphere making the colors more vibrant in the image. The tradeoff is that the CPL will reduce the amount of light entering your lens, thus slowing down your shutter speed slightly. That’s why I started this section that a tripod is the first essential (or have lots of light in the scene so you can shoot handheld).
As a note, no matter the season, it is beneficial to always have rain protection for your gear. This doesn’t have to be expensive. Even though I have “proper” rain covers for my camera, 90% of the time I use either a shower cap (taken from a hotel) or an extra rain cover from my backpack when in the field. Both options work well and are easier for me to tinker with my settings compared to a proper camera rain jacket.

Watch your RGB Histogram
The devil is in the details, your histogram details. And I don’t mean the that big white histogram, it is important to check those red, green, and blue (RGB) histograms underneath. The reason being is that the fall foliage colors (yellow, orange, and red) are expressed in the red channel of the histogram. It is entirely possible and often likely that the compiled histogram will be pushed to the right. Then you’ll have to rely on the post-processing to recover. If that red channel of the camera’s RGB histogram is pushed too far to the right, then you are potentially losing details of the leaves! My preference is to ensure I’m capturing all that important color data in the leaves. To do so, I check to make sure there is no clipping, especially in that red channel.
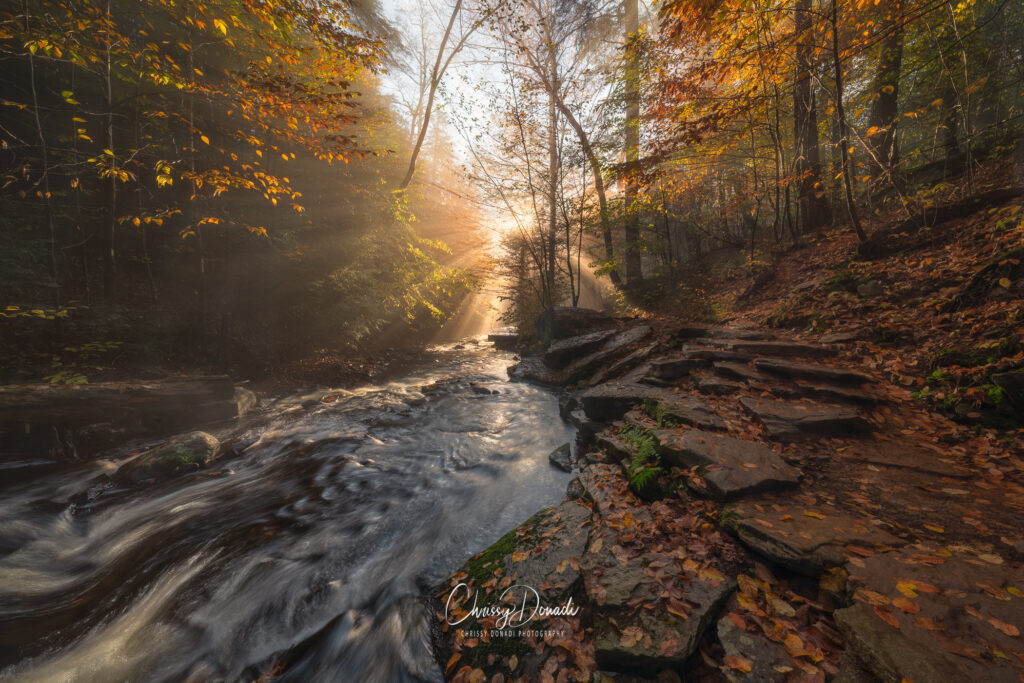
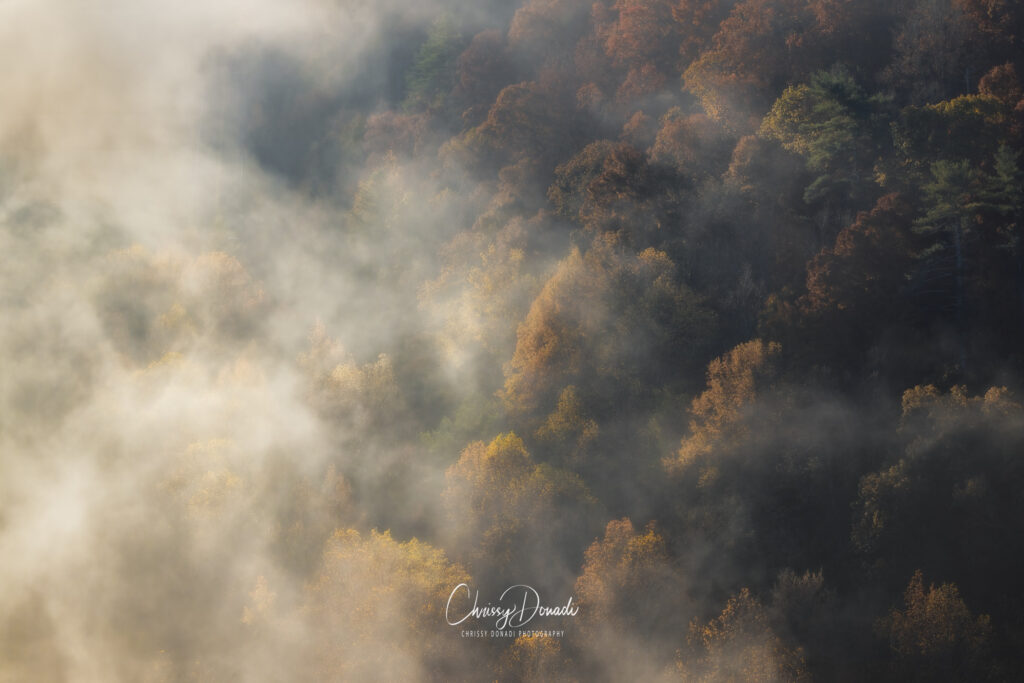
Photograph the Fog & Mist of Autumn
Cool nights followed by warm days will enable the fog and mist to roll into your fall photography. If you wake up to a foggy morning, I hope you jump out of bed with excitement. Sure, fog and mist can soften, mute, or at times even cover the color. However, fog and mist add mood and atmosphere into the composition. These elements turn a rather straightforward image into something more complex and intriguing.
To predict misty conditions, pay attention to the relationship between air temperature and dew point. Fog is most likely to form when the overnight low temperature drops to within 5°F (3°C) of the dew point. For example, if the forecast predicts an overnight low of 50°F (10°C) and the dew point is 46°F (8°C) or higher, you have a good chance of waking up to a misty landscape perfect for atmospheric autumn shots.
Look for clear, calm nights followed by cool mornings, especially in low-lying areas or near water bodies. These conditions increase your chances of capturing those magical, mist-shrouded autumn landscapes we all love.
When shooting in foggy conditions, consider using spot metering to ensure proper exposure of your main subject. Experiment with different compositions – fog can create a sense of depth and mystery in your images. Try shooting through gaps in the mist to create layers in your composition.
Since there may be less light during foggy conditions, it’s important to use a tripod and perhaps even increase your ISO. Remember, mist tends to dissipate quickly once the sun rises, so be prepared to work efficiently during these fleeting moments of magical light.
By combining your knowledge of fall foliage patterns with an understanding of fog formation, you can plan for truly spectacular autumn shoots that capture both the colors and the mood of the season.
Watch Out for the Wind
One of the most deflating discoveries is when you think you captured something great, only to come home and find that some of the leaves aren’t in focus and were blurred from a simple gust of wind. Wind can wreak havoc on your fall photography images. Actually, wind can torment nature photographers at any time of the year. Okay, sometimes it helps too. The key is simply to be aware of those subtle breezes. When photographing fall leaves, be sure to zoom in and check the leaves for any unintended blurring.
To capture sharp leaves, typically, the minimum shutter speed needed is 1/30th of a second. If there isn’t enough light to properly expose the image with that fast of a shutter speed, then increase the ISO until you reach a safe shutter speed to freeze any motion from the wind. Because Adobe Lightroom and Topaz Denoise are so good at handling noise these days, I have no fear of increasing my ISO.
Now, there may be times when the wind is simply going to be so strong that you need to work with it. That is the time to incorporate motion into the composition whether you intentionally let the leaves blur or experiment with some intentional camera movement (ICM). Alternatively, see if you can shift your focus to small scenes. For small scenes, you may be able to shield your composition from the wind.
Conclusion & Post-Processing
Don’t forget that your fall photography doesn’t end when you press the shutter. In post-processing, you can further enhance your autumn images to make them truly shine. For my next article, I’ll be sharing detailed guidance on how to make the most of your fall photos with Easy & Effective Post-Processing Tips for your Fall Photography which will be released in early October 2024. Sign up below to have those editing tips delivered right to your inbox.
Armed with these six essential tips – timing, creativity, proper gear, histogram awareness, embracing atmospheric conditions, and managing wind – you’re ready to capture the fleeting beauty of autumn. Remember, practice makes perfect, so get out there and enjoy photographing!
+ show Comments
- Hide Comments
add a comment